How to Measure a Room for a Lighting Plan
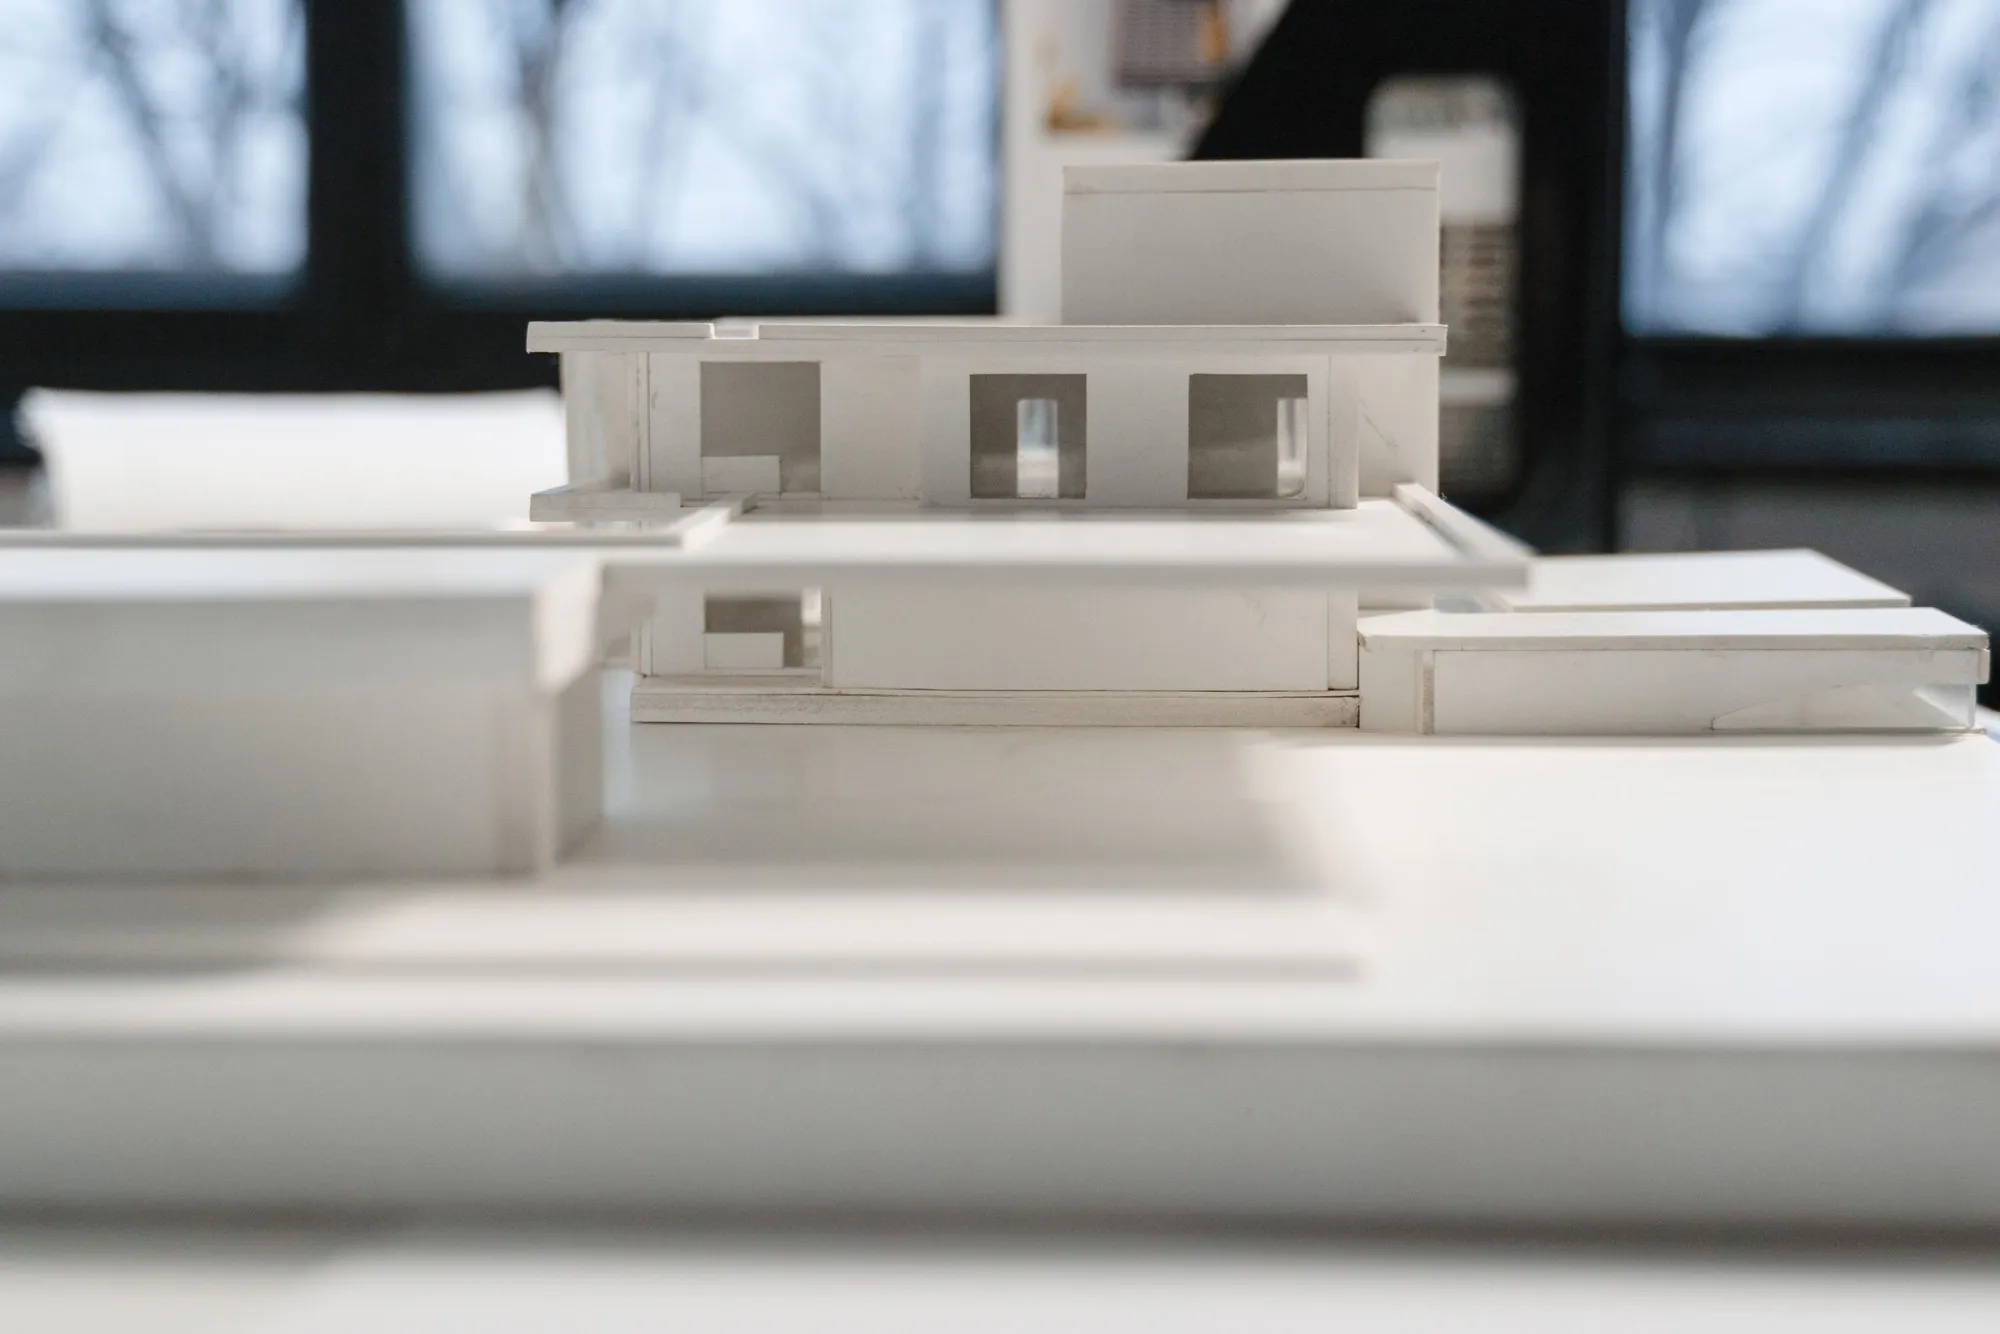
A lighting plan is only as good as the information behind it. Before anyone can say where a downlight should go, how high a sconce should sit or how many light spots a room needs, they need the room's real size and shape. The good news is that you do not need special equipment. A tape measure, a phone and about twenty minutes are enough.
What you need
- A tape measure (a 5 m / 16 ft tape is fine; a laser measure is quicker if you have one).
- A phone for photos.
- Paper and pen, or a notes app, to sketch the room.
- Ideally, a second person to hold the other end of the tape.
Step 1: Sketch the room
Draw a simple top-down outline of the room. It does not need to be to scale. Mark:
- Each wall, numbered clockwise from the door (Wall 1, Wall 2…).
- Doors, including which way they swing.
- Windows.
- Any alcoves, columns, chimney breasts or sloped ceilings.
This sketch is where you will write all the measurements.
Step 2: Measure the walls
Measure each wall from corner to corner at roughly waist height, where furniture is less likely to get in the way. Write the length on the sketch next to each wall.
If the room is not a simple rectangle, measure every section separately, including the depth of any alcove or bay.
Tip: Measure the two diagonals of a rectangular room as well. If they are equal, the room is square-cornered; if not, the designer knows the walls are slightly out of true.
Step 3: Measure the ceiling height
Measure from the floor to the ceiling in at least two places. Older homes often vary. If there is a beam, a bulkhead or a sloped section, measure:
- The height under the beam or bulkhead and its width.
- For a slope: the height at the lowest point, at the highest point, and where the slope starts.
Ceiling height affects how far apart downlights should be, what beam angle suits the room and how low a pendant can hang.
Step 4: Windows and doors
For each window, note:
- Width and height.
- Height of the sill from the floor.
- Distance from the nearest corner.
- Which direction it faces, if you know (north, south, etc.). This tells the designer how daylight enters the room.
For doors, note the width and the distance from the corner, and which side the light switch is on.
Step 5: Existing electrics
Mark on your sketch where these are now:
- Ceiling light points.
- Wall lights.
- Switches (and which lights they control).
- Sockets.
You do not need to know anything about the wiring. A plan can work with the existing points or suggest new ones; any changes to wiring should be made by a qualified electrician.
Step 6: Furniture and fixed elements
Lighting is designed around how a room is used. Mark the position and rough size of:
- The bed, sofa, dining table or desk.
- Kitchen counters, islands and tall units.
- Wardrobes, shelving and large mirrors.
- Artwork or features you want to highlight.
If you plan to move furniture, sketch the layout you want, not the current one.
Step 7: Take the photos
Photos fill in everything the numbers miss: materials, colours, textures and the feel of the room.
- Stand in each corner and photograph the opposite corner, so you get four overlapping views.
- Take one photo of each wall straight on.
- Photograph the ceiling, including any beams or existing fittings.
- Take a photo in daylight and, if you can, one in the evening with your current lights on.
- Turn on the main lights and avoid zooming; a slightly wide view is more useful.
Step 8: Note how you use the room
Finally, write a few lines about how you live in the space: "We read in bed", "The kids do homework at this table", "I want the shelves to glow in the evening". These notes often matter as much as the measurements.
Checklist
- ☐ Sketch with numbered walls
- ☐ Wall lengths and diagonals
- ☐ Ceiling height (two or more places)
- ☐ Windows and doors with positions
- ☐ Existing lights, switches and sockets
- ☐ Furniture layout
- ☐ Four corner photos, wall photos, ceiling photo
- ☐ A short note on how you use the room
What happens next
With LightDecor, you upload these photos and measurements after choosing a plan. They are used to build a 3D model of each area with the light spots marked, plus a light-spot file and a decor list sized to the space. Accurate measurements mean light spots land where they should, so a little care here pays off later.
A 3D model per area with every light spot marked, a light-spot file, a decor list with buy links, a PDF and one ZIP.
See the plans → Next: Decor Palette Basics: Choosing Colours That Work With Your Light →