How Many Light Spots Does a Living Room Need?
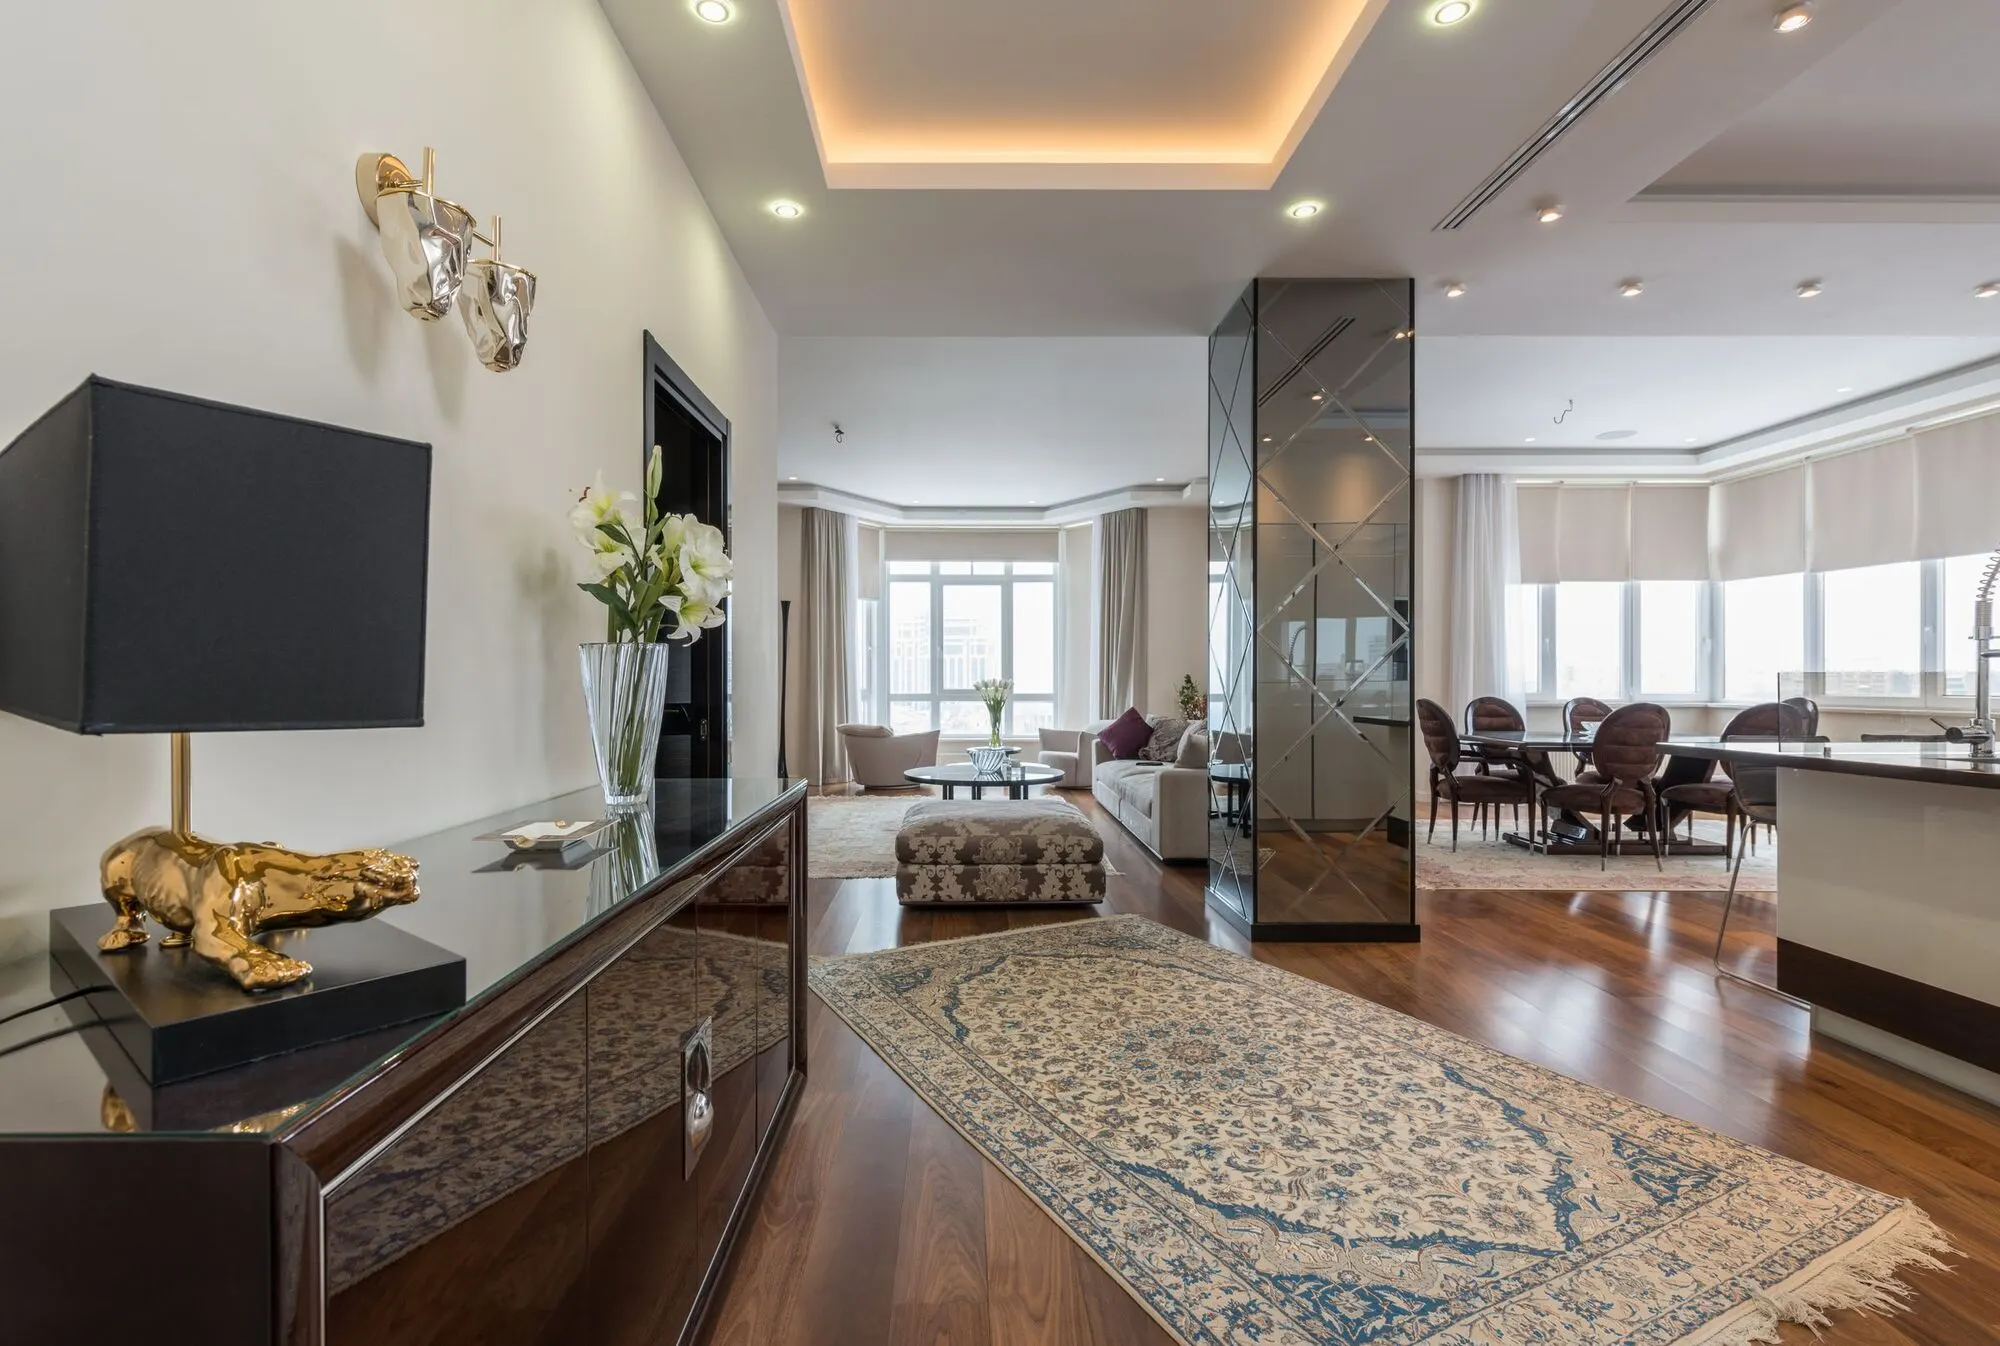
"How many downlights should I put in?" is one of the most common lighting questions, and the honest answer is: fewer than you think, and not only downlights. A living room lit by a grid of identical ceiling spots often feels flat and over-bright. A room with fewer ceiling lights and a few well-placed lamps and accents usually feels better and is easier to live with.
Still, you need a starting number. Here is a practical method.
Step 1: Work out the room area
Measure the length and width of the room and multiply them. For example, a living room of 5 m × 4 m is 20 m² (about 215 sq ft). If the room is L-shaped, split it into rectangles and add them up.
Step 2: Choose a brightness target
Brightness on a surface is measured in lux (lumens per square metre). Living rooms do not need much general light compared with kitchens or offices. A commonly used range for general living-room light is roughly 100 to 300 lux, with extra task light where you read.
For a relaxed living room, a target of around 150 lux of general light is a reasonable starting point; choose the higher end if the room has dark finishes or if you want a brighter feel.
Step 3: Estimate total lumens
A simple estimate:
Room area (m²) × target lux = lumens needed
For our 20 m² room at 150 lux: 20 × 150 = 3,000 lumens.
This is a rough figure. Dark walls, high ceilings and deep shades absorb light, so real rooms need more; pale walls bounce light and need less. Treat the result as a starting point, not a precise specification.
Step 4: Split it between layers
Do not put all 3,000 lumens into the ceiling. A balanced living room might split it like this:
- Ambient (ceiling or cove): around half.
- Lamps (floor and table): around a quarter.
- Accent (shelves, art, wall washing): the rest.
That gives you light at different heights, which is what makes a room feel layered and comfortable.
Step 5: Turn ambient lumens into spots
If the ambient share is about 1,500 lumens and you choose downlights of around 400–500 lumens each, you need roughly three to four downlights. Not twelve.
Placement matters more than count:
- Spacing: a common rule of thumb is to space downlights roughly as far apart as the ceiling is high (for example, about 2.4–2.7 m apart in a room with a 2.4–2.7 m ceiling), then adjust for the beam angle of the fitting. Narrow beams need closer spacing; wide beams can be further apart.
- Distance from walls: around half the spacing distance from the wall is a typical start. Placing a row closer to a wall (often 30–60 cm) turns it into a wall wash, which makes the room feel bigger.
- Avoid seats: do not put downlights directly above where people sit and look up.
- Follow the furniture: light the coffee table, the bookshelves and the art, not a mathematical grid.
Step 6: Add the other layers
- Floor lamps beside reading chairs, with the shade around shoulder height when seated.
- Table lamps on side tables or a console. Two or three lamps at different heights make a big difference.
- Accent lights on shelves, artwork or a textured wall.
- A cove or strip above curtains or behind a TV, if you want soft indirect light.
A worked example
A 5 × 4 m living room with a 2.6 m ceiling, a sofa facing a TV wall and shelving on one side might use:
- 4 dimmable downlights (warm white, around 450 lumens each), set in a loose rectangle that avoids the sofa.
- 1 floor lamp by the armchair for reading.
- 2 table lamps on side tables.
- 1 LED strip on the shelving.
- 1 soft backlight behind the TV.
That is 9 light points, but only four are in the ceiling. On a typical evening you might use the lamps and shelf light only; the downlights are for cleaning, guests and dark winter afternoons.
Things that change the answer
- Ceiling height: higher ceilings need more output per fitting or more fittings.
- Dark finishes: add more light, especially in lamps and accents.
- Open-plan spaces: plan the living area together with dining and kitchen so colour temperatures and switching match.
- Daylight: a bright south-facing room may need less ambient light in the daytime but the same in the evening.
Getting it exactly right
The method above gets you close. A LightDecor plan does it for your actual room: a 3D model built from your photos and measurements, every light spot positioned with its height, lumens and Kelvin in a CSV and JSON file, plus a decor list sized to the space. It is design guidance you can hand to an electrician, who will confirm what can be installed safely.
Fewer ceiling spots, more layers, everything on dimmers. That is the living room most people actually want.
A 3D model per area with every light spot marked, a light-spot file, a decor list with buy links, a PDF and one ZIP.
See the plans → Next: Layered Lighting for a Bedroom: A Practical Guide →